• Welcome
  • Gallery
  • About
  • Blog
  • Contact
  • Events
  • Locations
  • Information

Liskeard Camera Club

  • Welcome
  • Gallery
  • About
  • Blog
  • Contact
  • Events
  • Locations
  • Information

Minions photo-walk

I think the weather put most people off, and I can’t say I blame them!

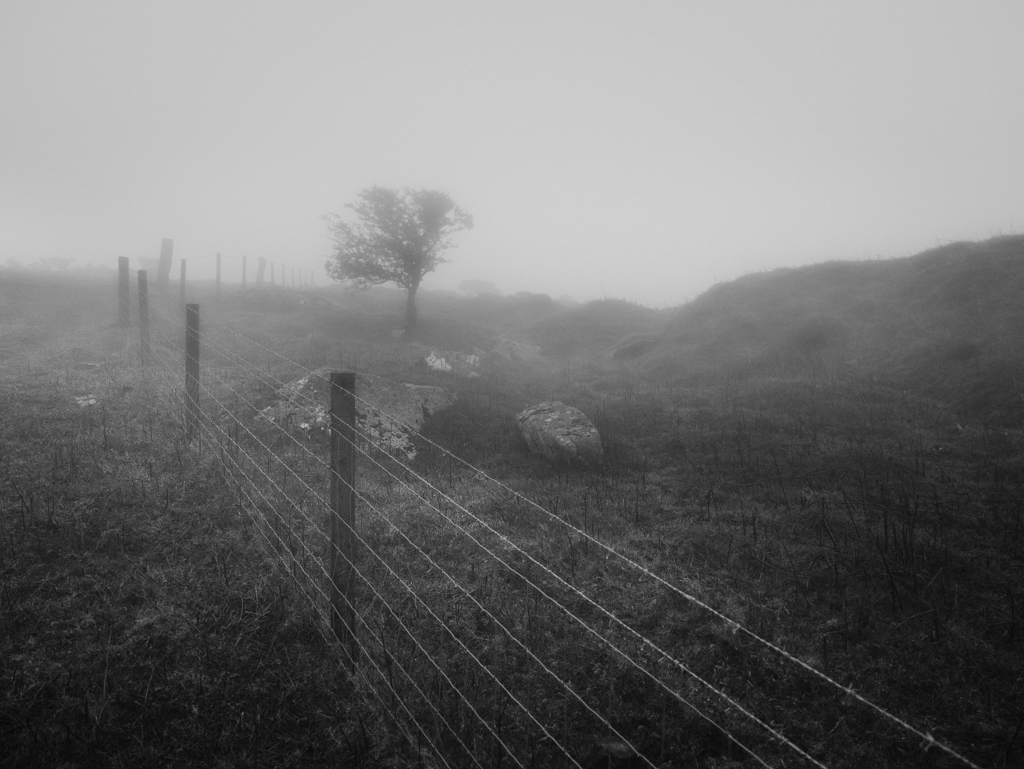
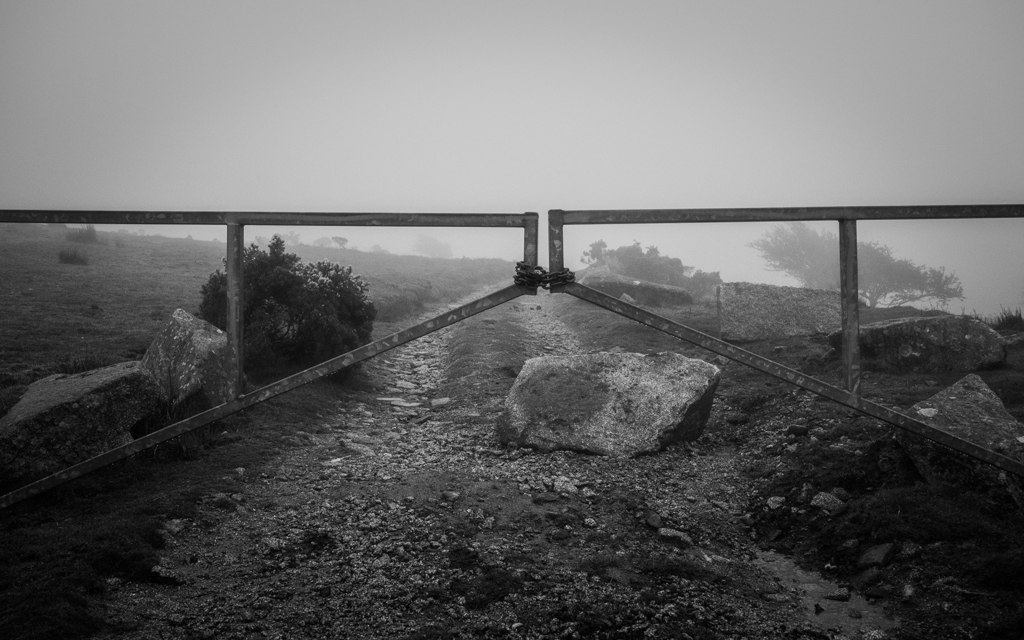
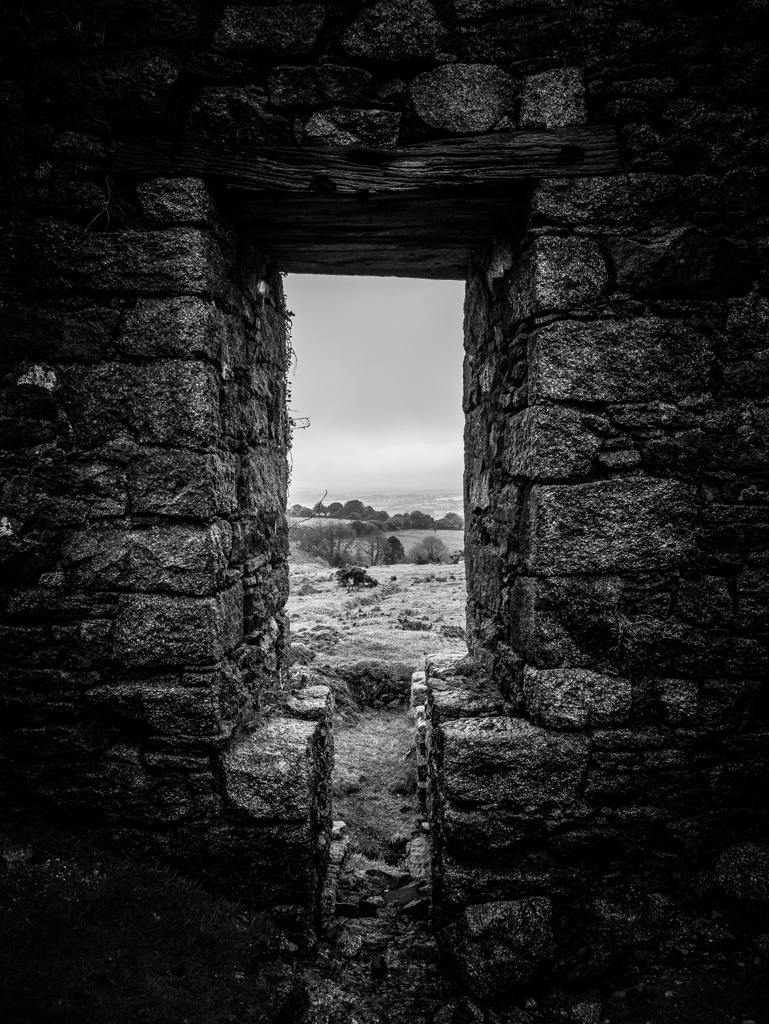
It was a a dreary, wet and foggy evening on Thursday when we met at Minions and decided to head for the quarry near the Caradon Hill Transmitter, from there we carried on towards the disused mine-stacks that litter the landscape.

It really does give the area an eerie feeling when you can hardly see anything in-front of you and photographically speaking can be seen as both a pro and a con, the con being that you can’t take in any grand vistas, but the pro being that you can isolate subjects and remove distractions from the frame.

At least we managed to find our way off the moorland with the only casualty being an umbrella which caught a full gust of wind and was ripped inside-out!


P4960131.jpg P4960141.jpg P4960098.jpg P4960124.jpg P4960110.jpg P4960094.jpg P4960129.jpg
categories: Events, photo-walk
Friday 05.20.16
Posted by Liskeard Camera Club
 

Using Dodging and Burning to emphasise elements

Dodging and Burning are terms used to describe over or under exposing specific areas of the image to highlight or detract specific features in the picture. Although this might sound trivial, the impact that it can have on the image can be immense as it allows you to draw the viewers eyes to the parts of the image you want them to see, while also reducing distractions.

The names come from techniques developed in the darkroom. Burning is used to increase the exposure in a specific part of an image; when a print was being developed it would be exposed normally, then using an opaque card with a shape cut into it the developer could add extra exposure to a specified area of the print to make that area lighter.

Dodging is effectively the opposite; using shaped pieces of opaque card the developer could stop light from exposing in certain areas and therefore reduce the exposure and make the affected part of the image darker.  In the darkroom the developer would need to know how long the overall exposure was, and how long to dodge and burn the set parts of the image to get the overall effect, and this process would need to be repeated every time a new print was required.

Luckily we can now make masks in image developing software to make the process much easier, and more importantly, easily repeatable.

I recently took this shot at Golitha Falls near Minions, this tree by the river really stood out as an interesting feature but as it was late in the day the light was fairly flat and even and viewing the image at home it was clear that the lone tree was getting lost within the woods beyond.

Creating a mask that traces around each individual leaf sounds like an arduous task but luckily there is help at hand in the form of the “auto mask” option in Lightroom.  When this is turned on, instead of the brush just a round shape, it will look at the colour of the area you click on and stop the mask when it detects a distinct change, this allowed me to click near the edge of each leaf and let Lightroom detect the edge, here you can see the mask highlighted in red:

The mask was completed in less than 10 minutes which allowed me to pull the leaves on the tree out from the background, introducing a clear distinction between the tree and woods beyond:


Thursday 05.19.16
Posted by Liskeard Camera Club
 

Inspiration - Monika Gawinowska

I have been following Monika's work on Flickr for some time but her latest images are outstanding efforts, showing great composition and a sublime control over tone and depth-of-field.

Old Town
Old Town

For more of her work please have a look at her Flickr photostream: https://www.flickr.com/photos/gavinoska/


categories: Inspiration
Monday 05.16.16
Posted by Liskeard Camera Club
 

One Photograph Series - The Human Element

No matter where I am I'm always looking for a photo opportunity. Sometimes opportunities come along quickly and all the pieces of the image fall in to place perfectly, no mess, no fuss, just compose and shoot. This was not one of those days!

I was on holiday with my wife in Rapallo in Italy. We took the train along the coast stopping off at stations along the Cinque Terra region. It’s a stunning location with beautiful harbour villages which have houses built down the hillside to the sea.

Whilst waiting for the train to take us to our next destination I saw this great scene. The sun was quite high in the sky and I was shooting contre jour. The light was strong which created silhouettes and a deep contrasty scene. Standing on the 3rd platform I looked across the tracks to the other platforms, I loved the light pouring through the buildings and I especially liked the square which had a view to the sea.

I had a few elements which would go together to make a pleasing image, however I knew that I wanted something else to elevate the scene, a figure in the light square section would be perfect and so I waited. Unfortunately the area was very quiet, nobody was around, i knew that I only had a few minutes of waiting before the train came and we would be off on our way. I stood there eagerly wishing for someone to walk onto the platform.

The announcement came up for our train, I thought at this point I was going to miss the shot, luckily for me a couple of people walked into the scene, at this point I knew what I wanted. I was set up ready to take the photo, I just needed someone to be in the right place.

One of the people drifted off into the shadowed area leaving the woman stood exactly where I wanted, I took the photo. My train pulled in only a minute or two later.
Technical Data:
Camera: Panasonic G1
Lens: 14mm (35mm equivalent 28mm)
Aperture: f8
Shutter Speed: 1/2000th sec
ISO: 160

Sometimes it pays off to view a scene and to wait for things to fall in to place. On this occasion I knew a human element would lift this scene and give it added interest and context, it can be quite difficult sometimes to wait around for a shot and I have missed many opportunities as things haven’t worked out, but when It does work I find it well worth the wait.  

Sunday 05.15.16
Posted by Liskeard Camera Club
 

Portwrinkle photo-walk

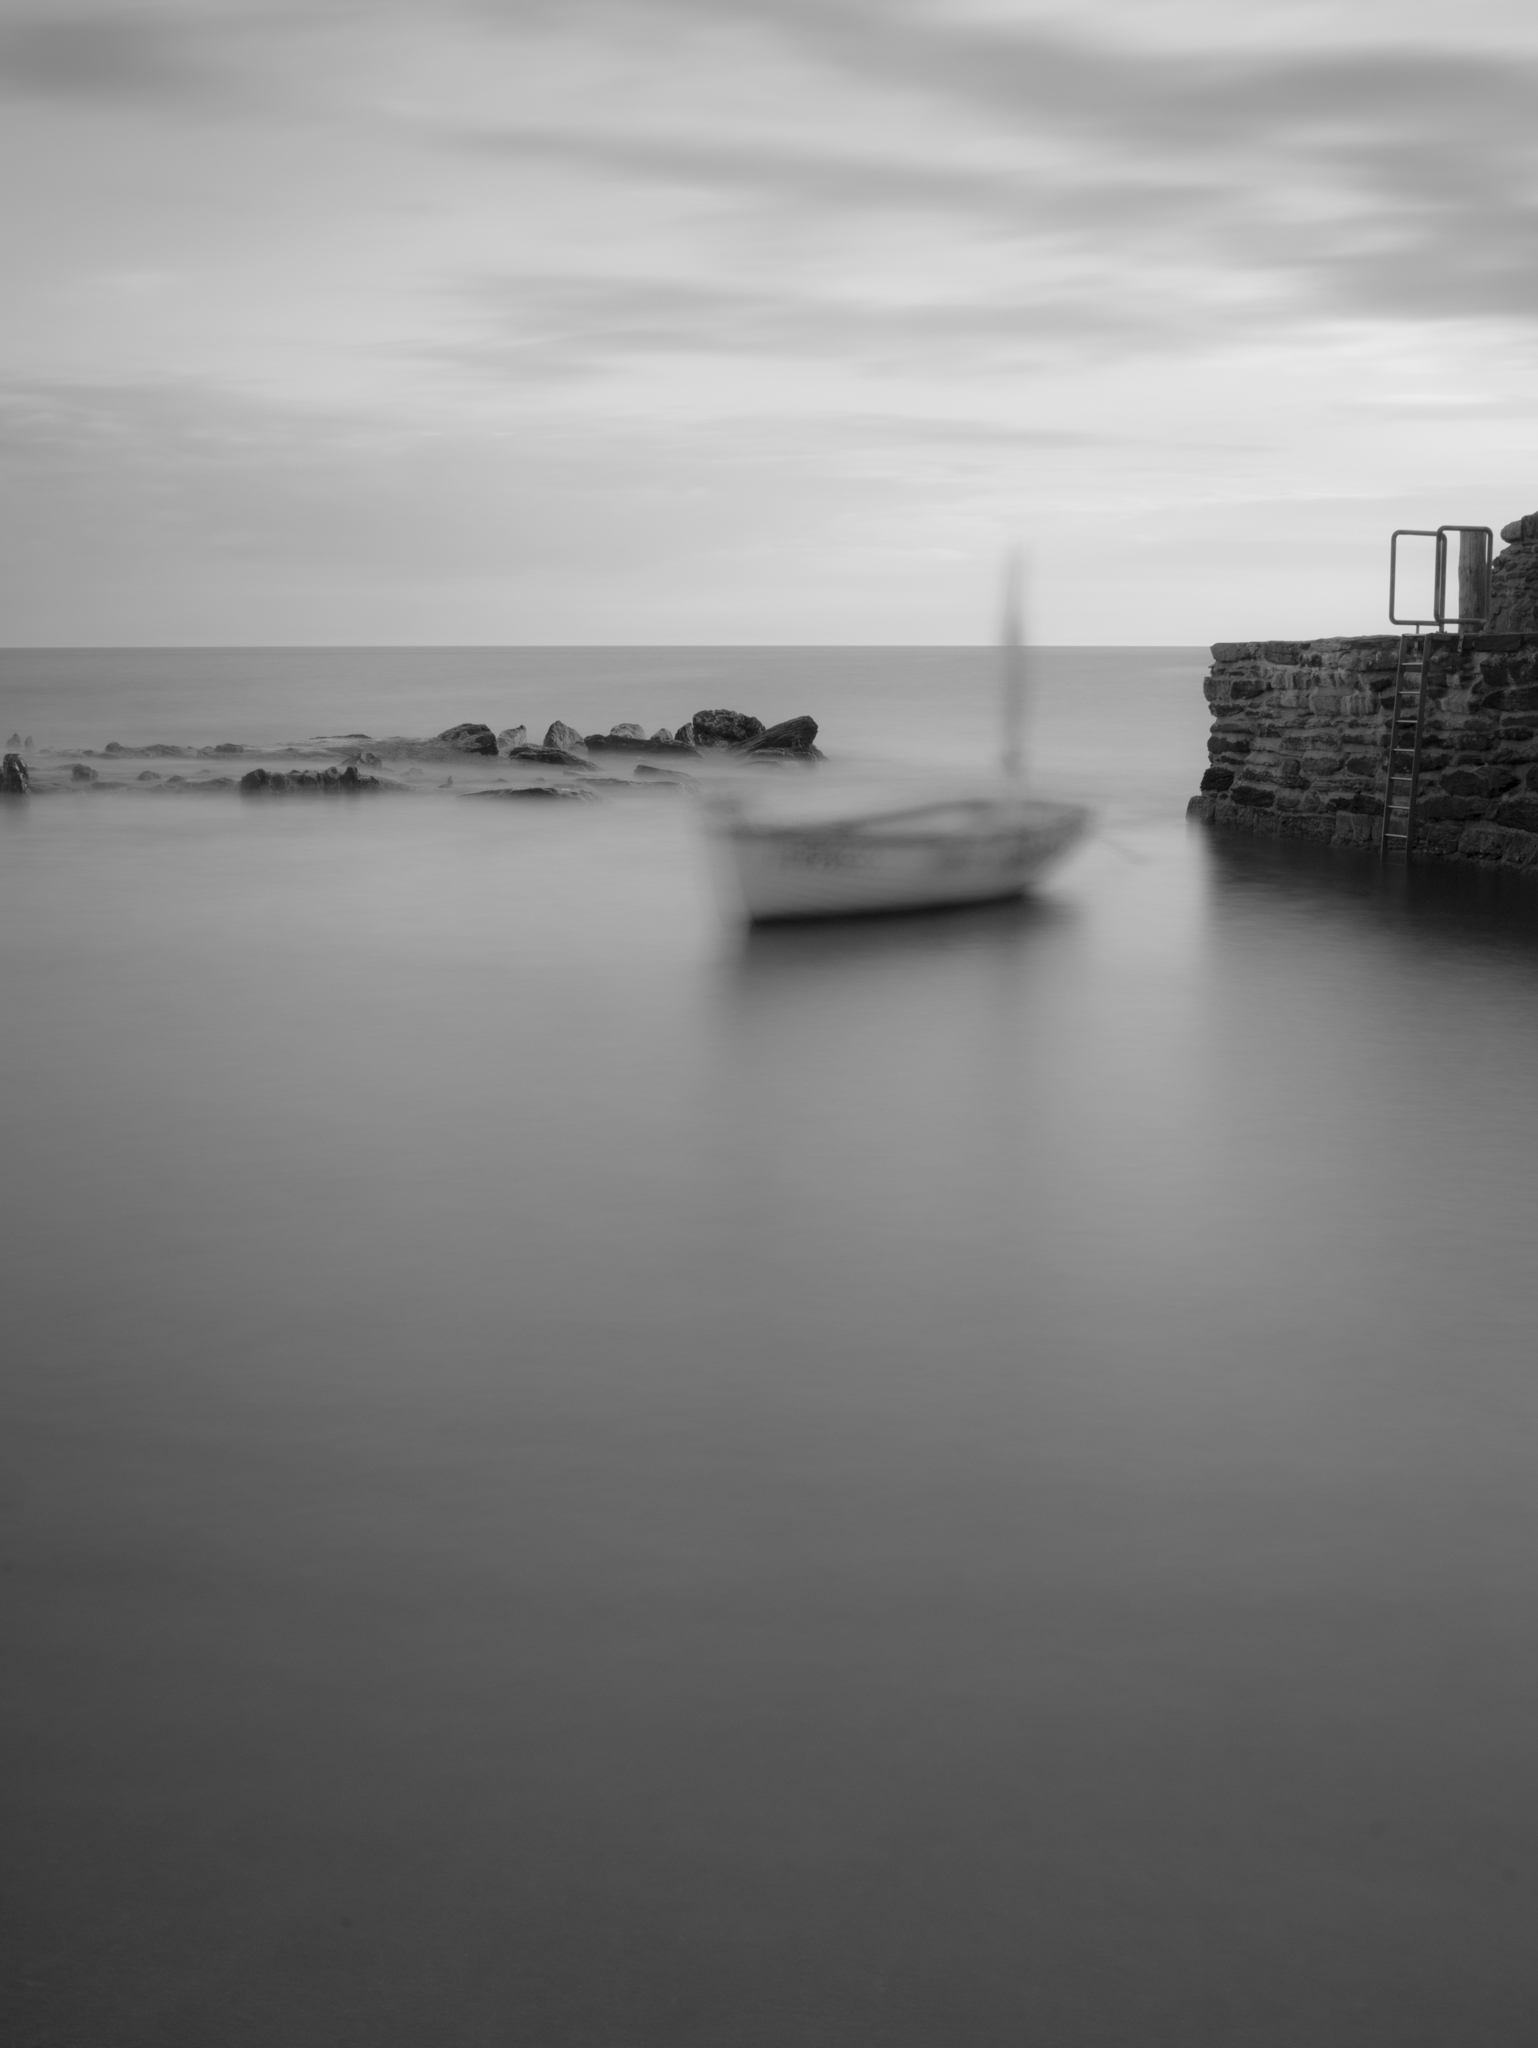
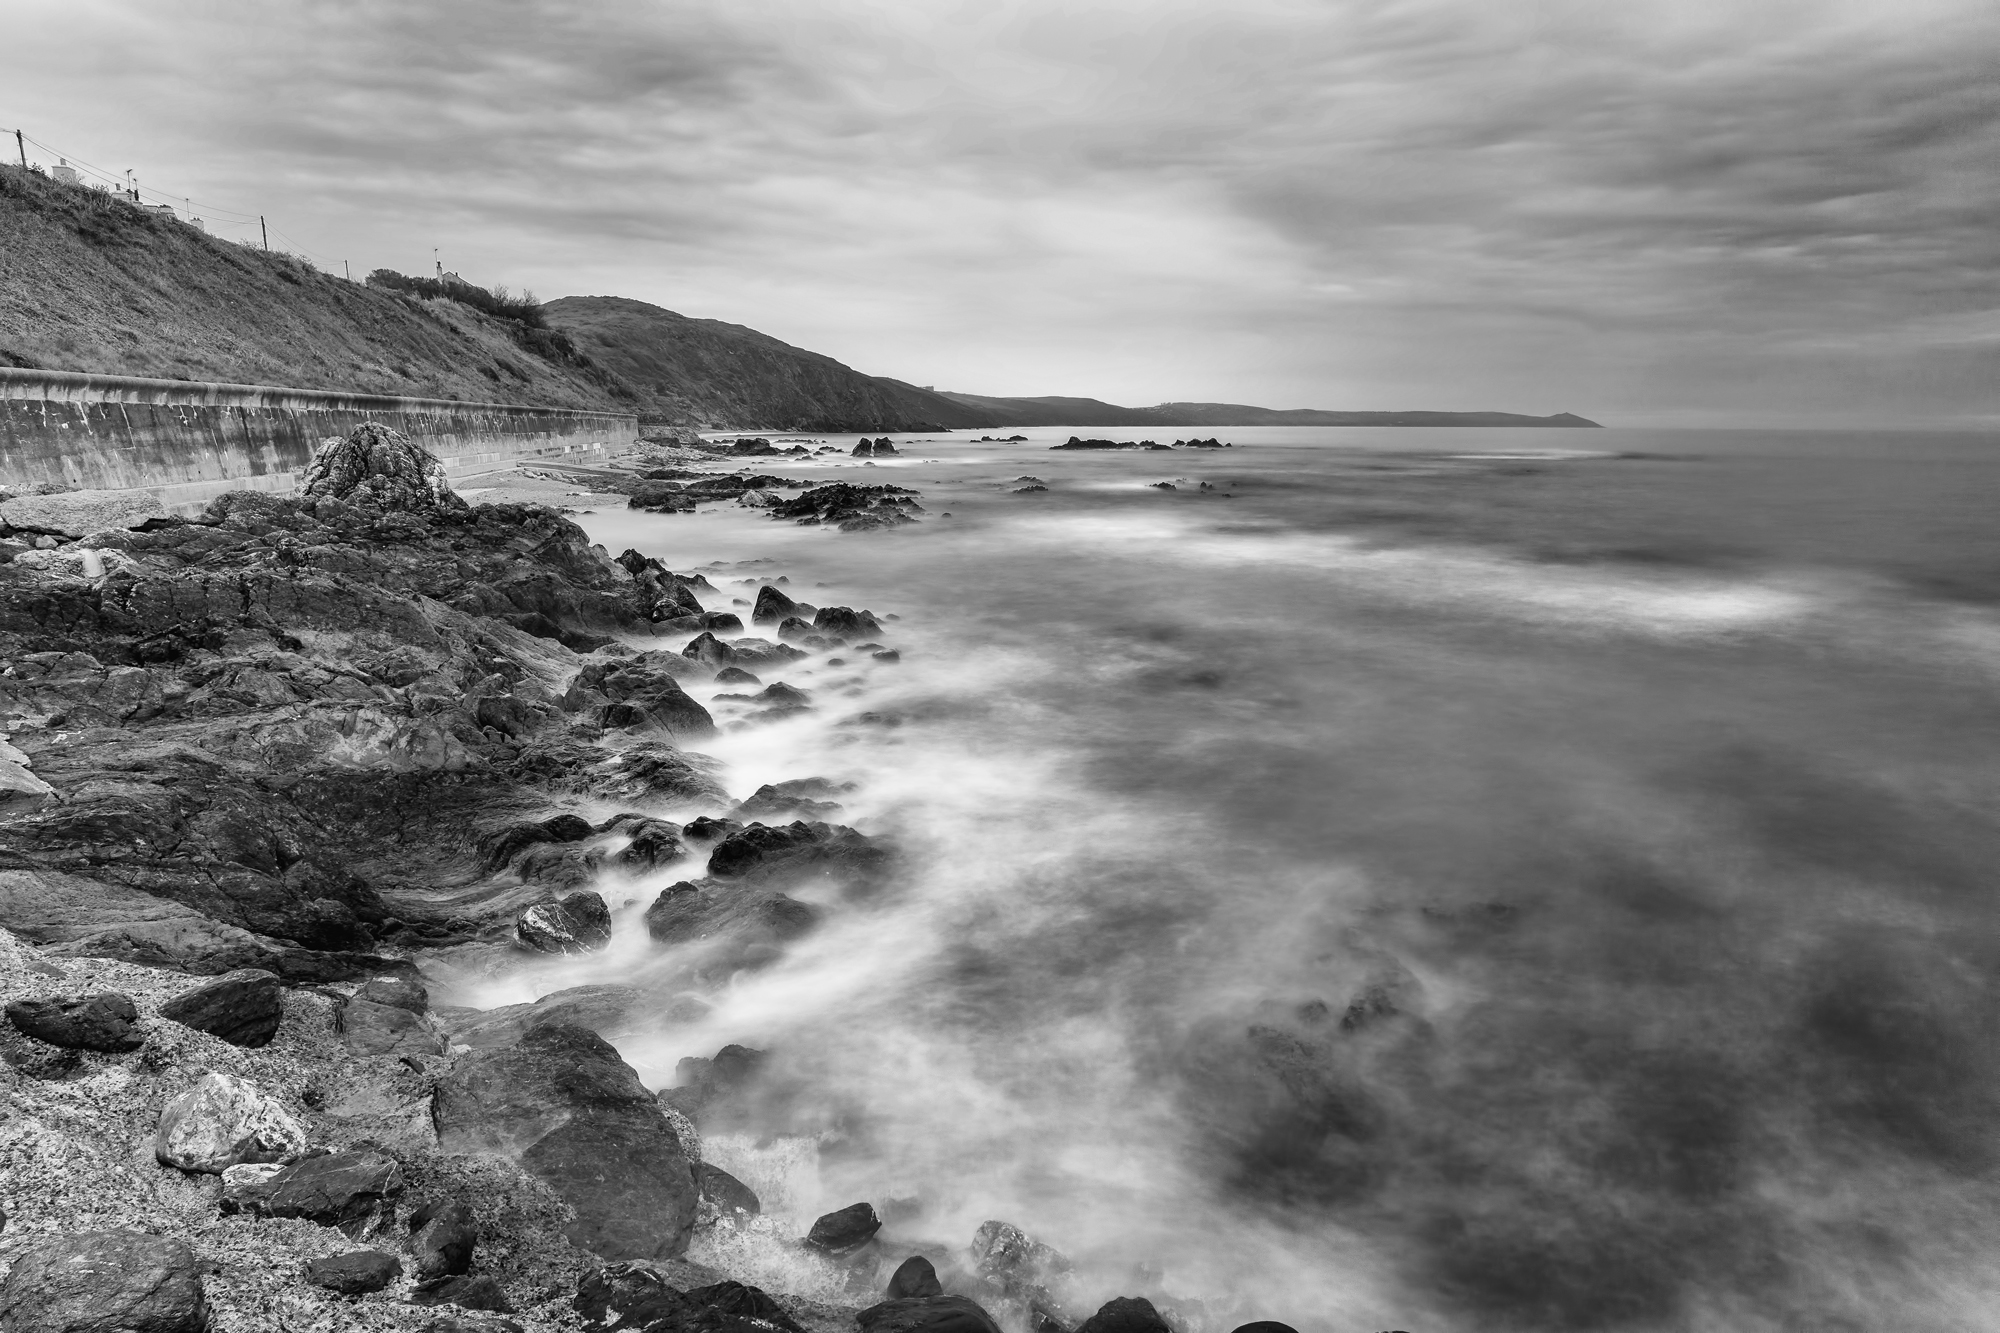
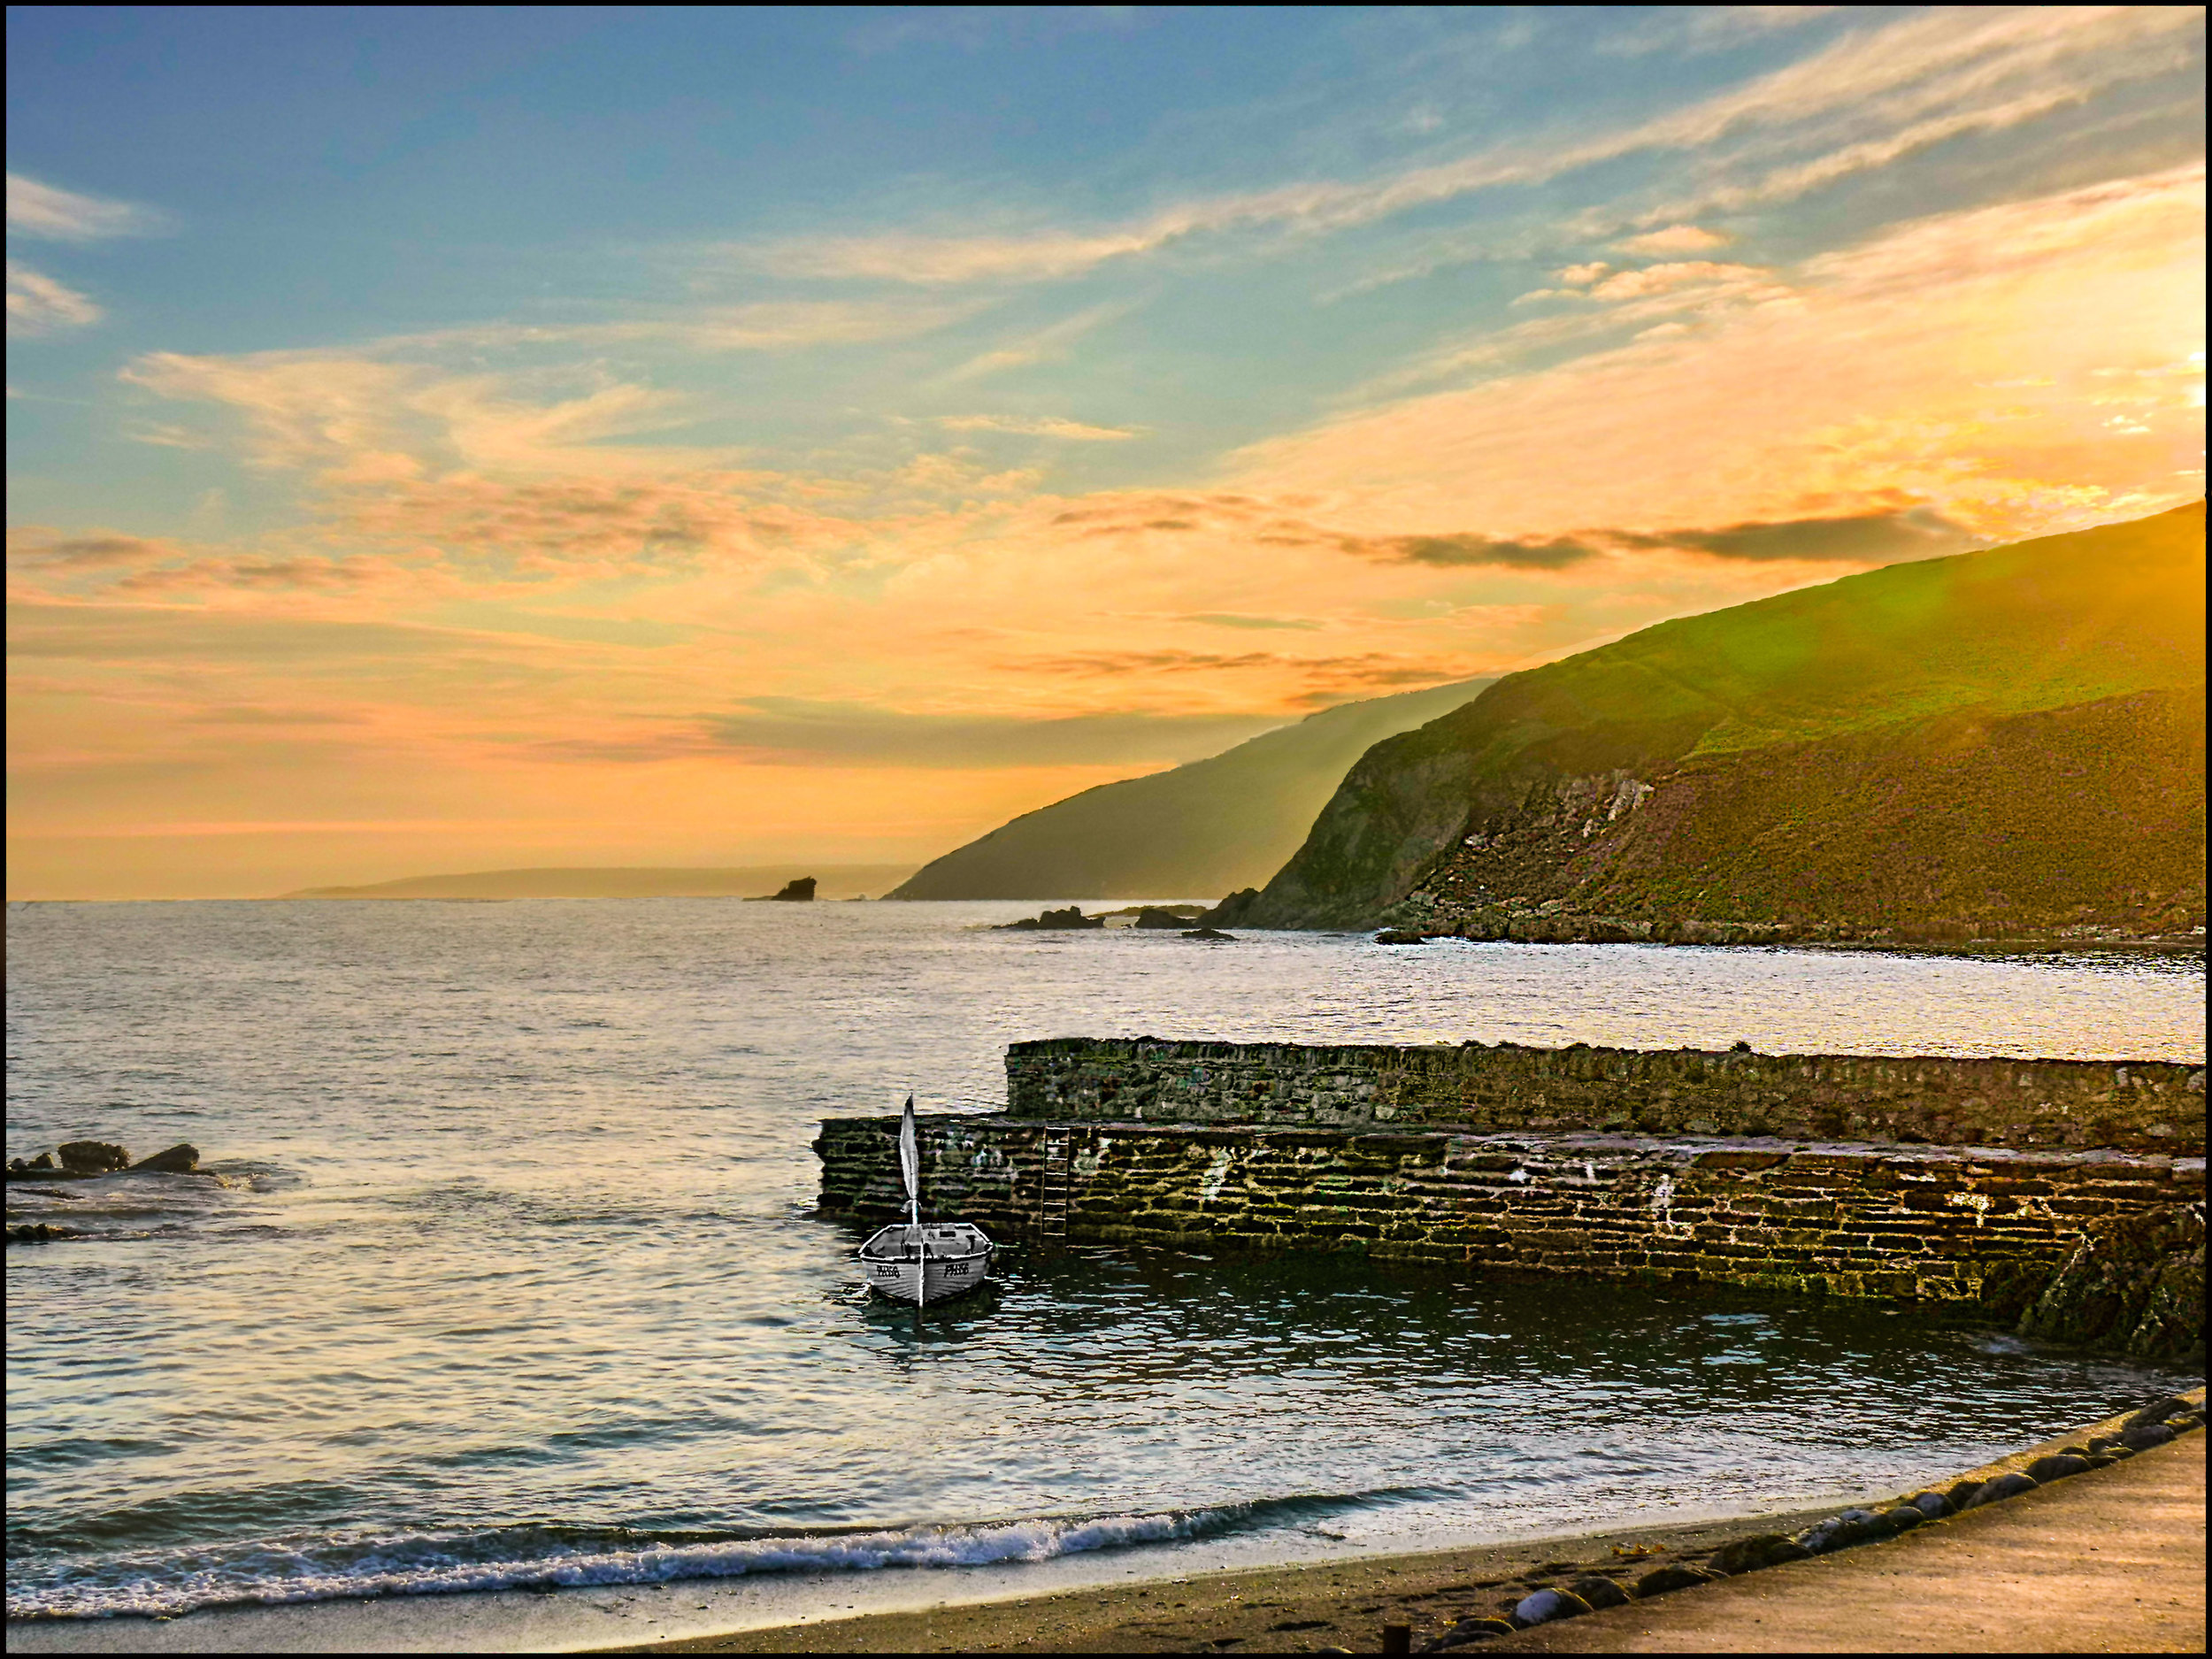
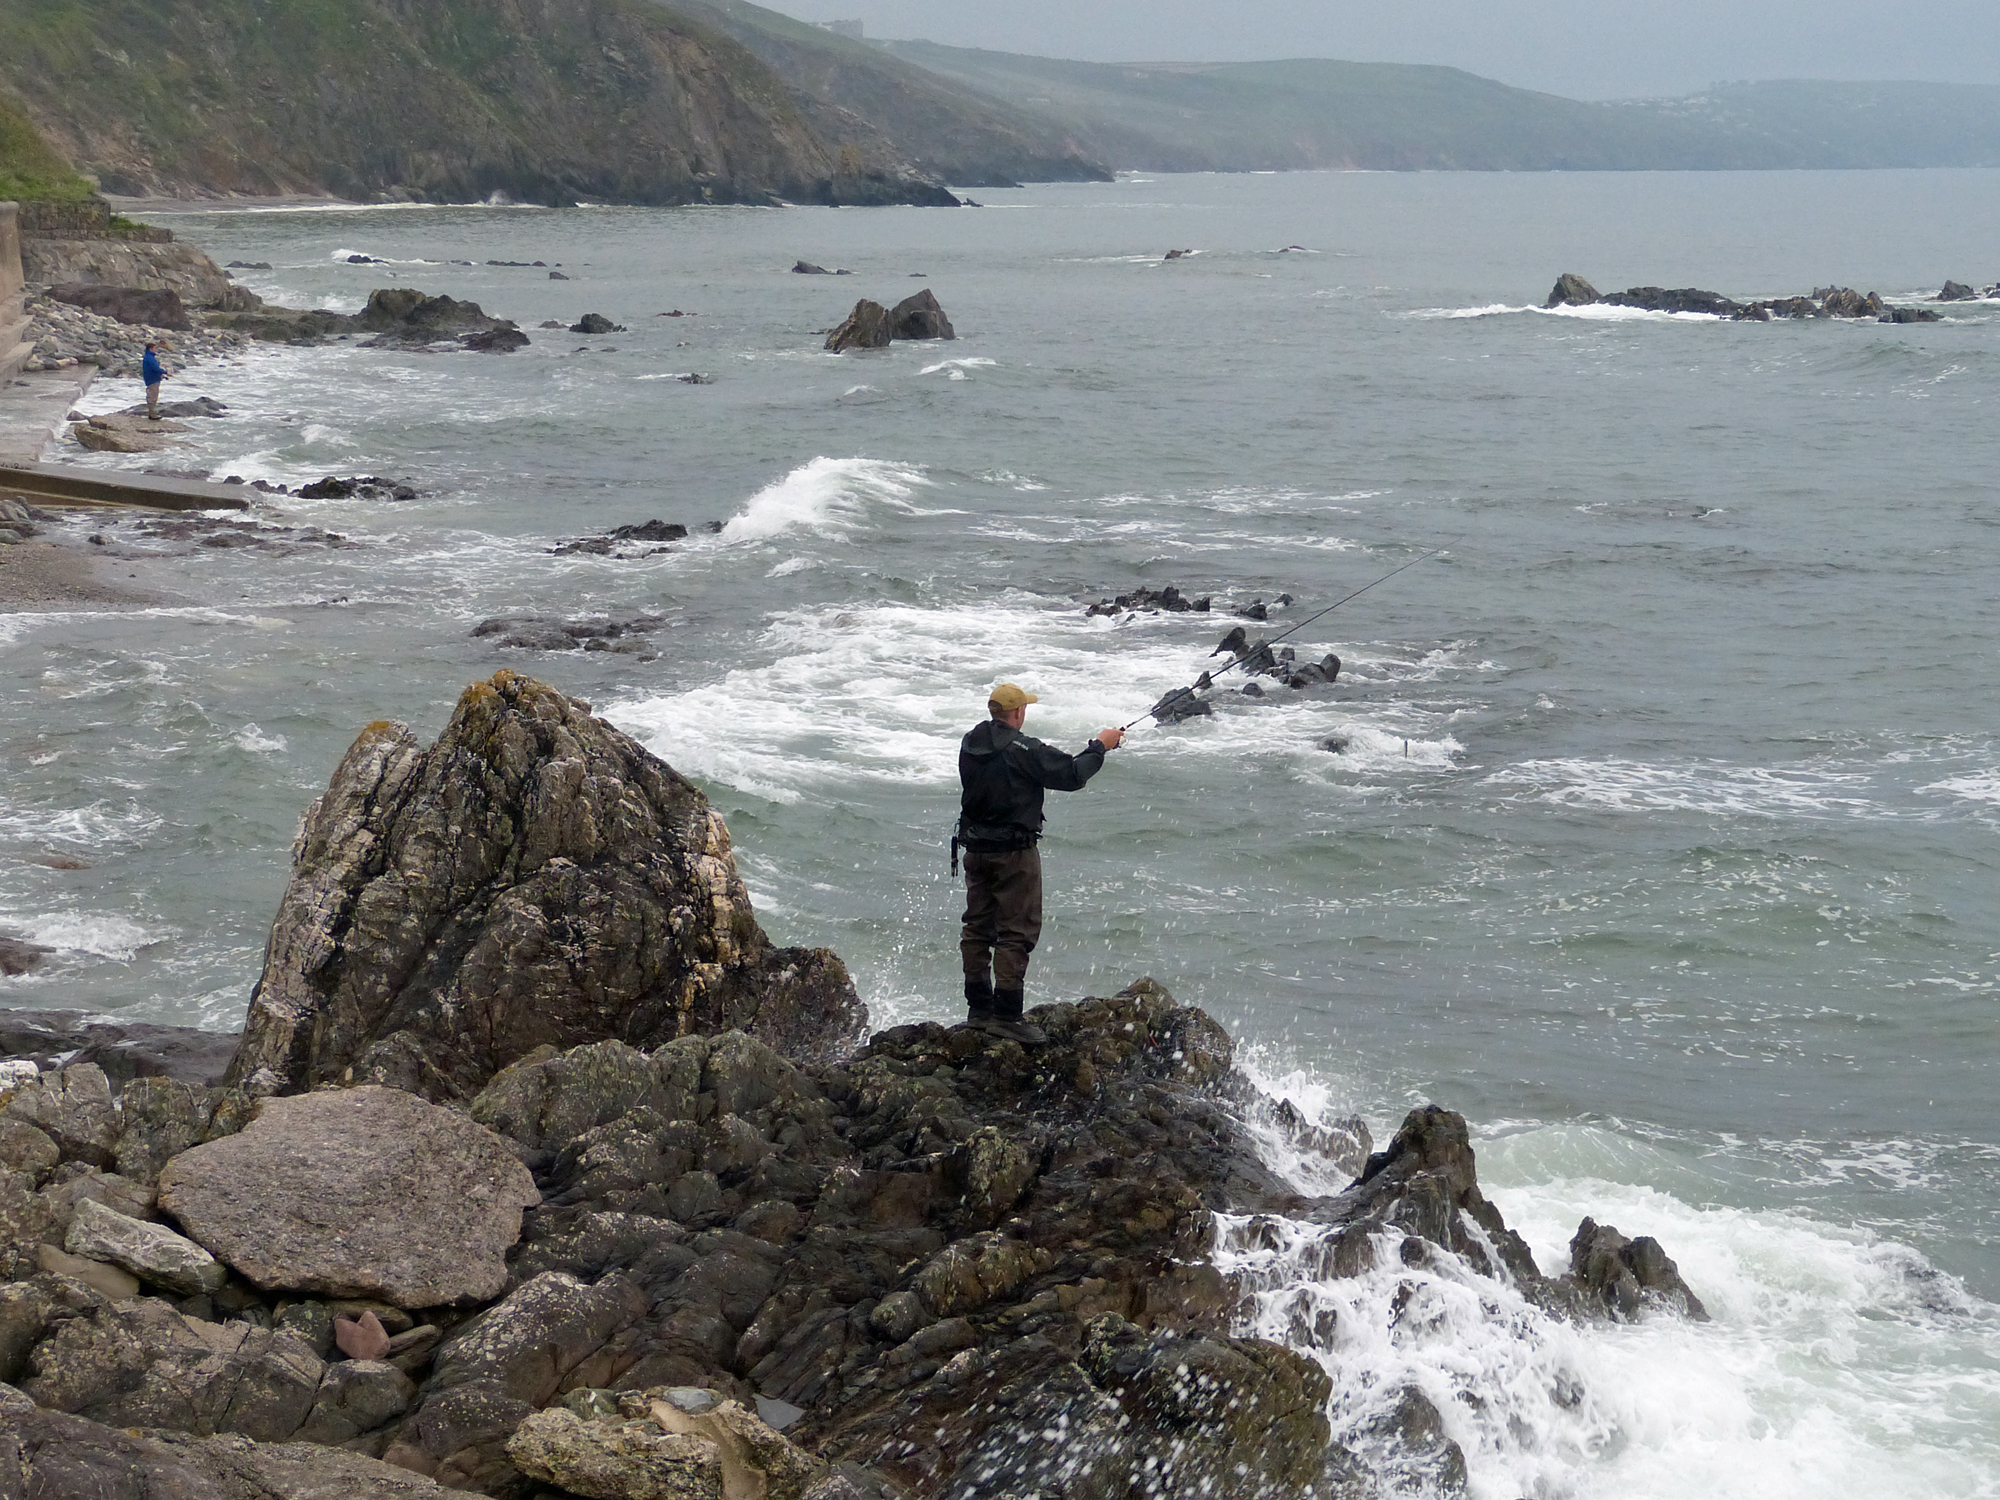
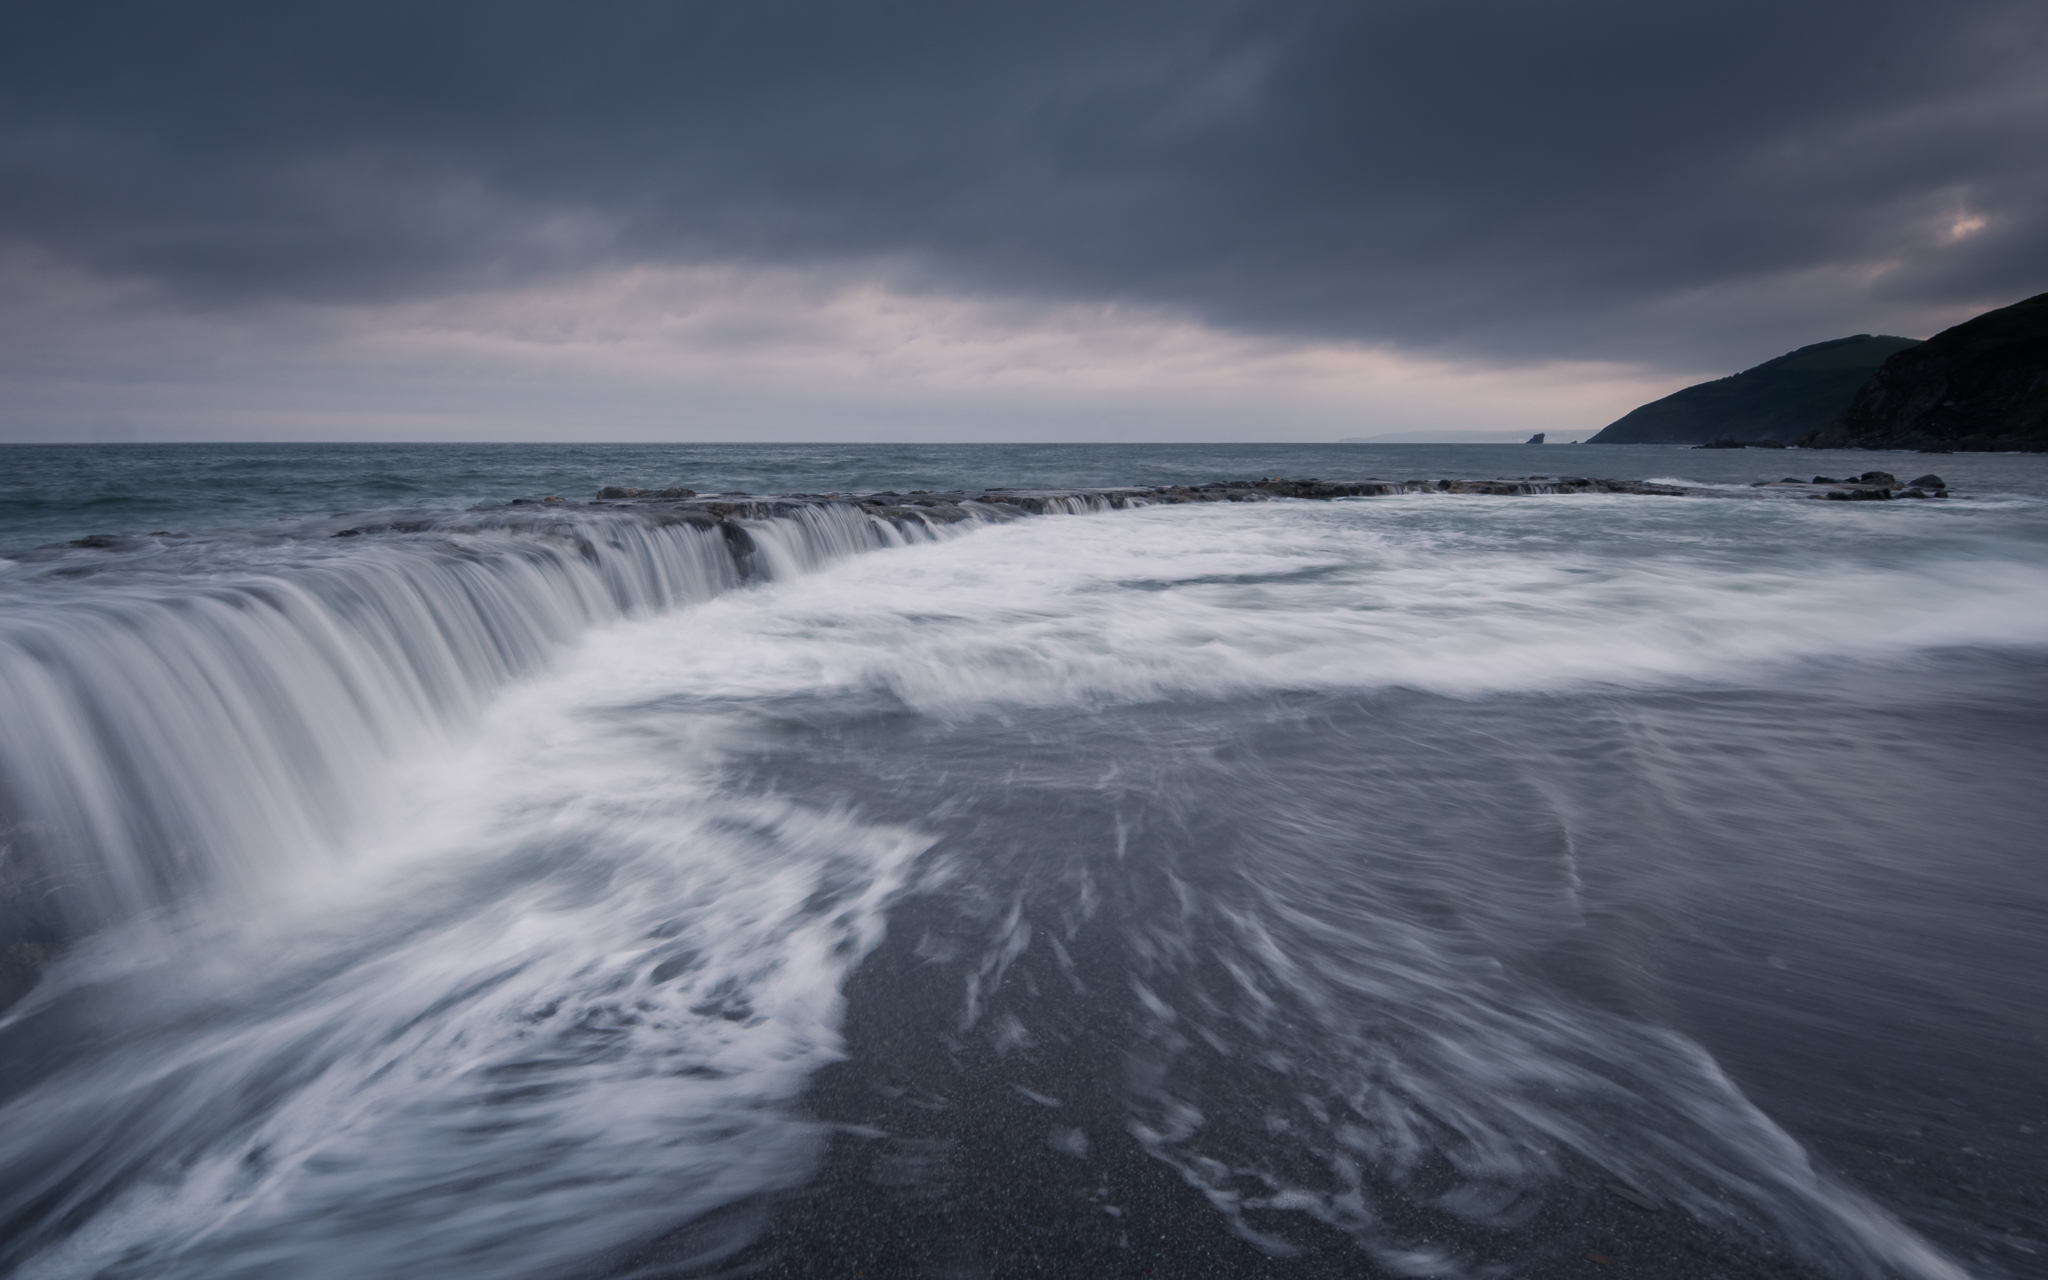
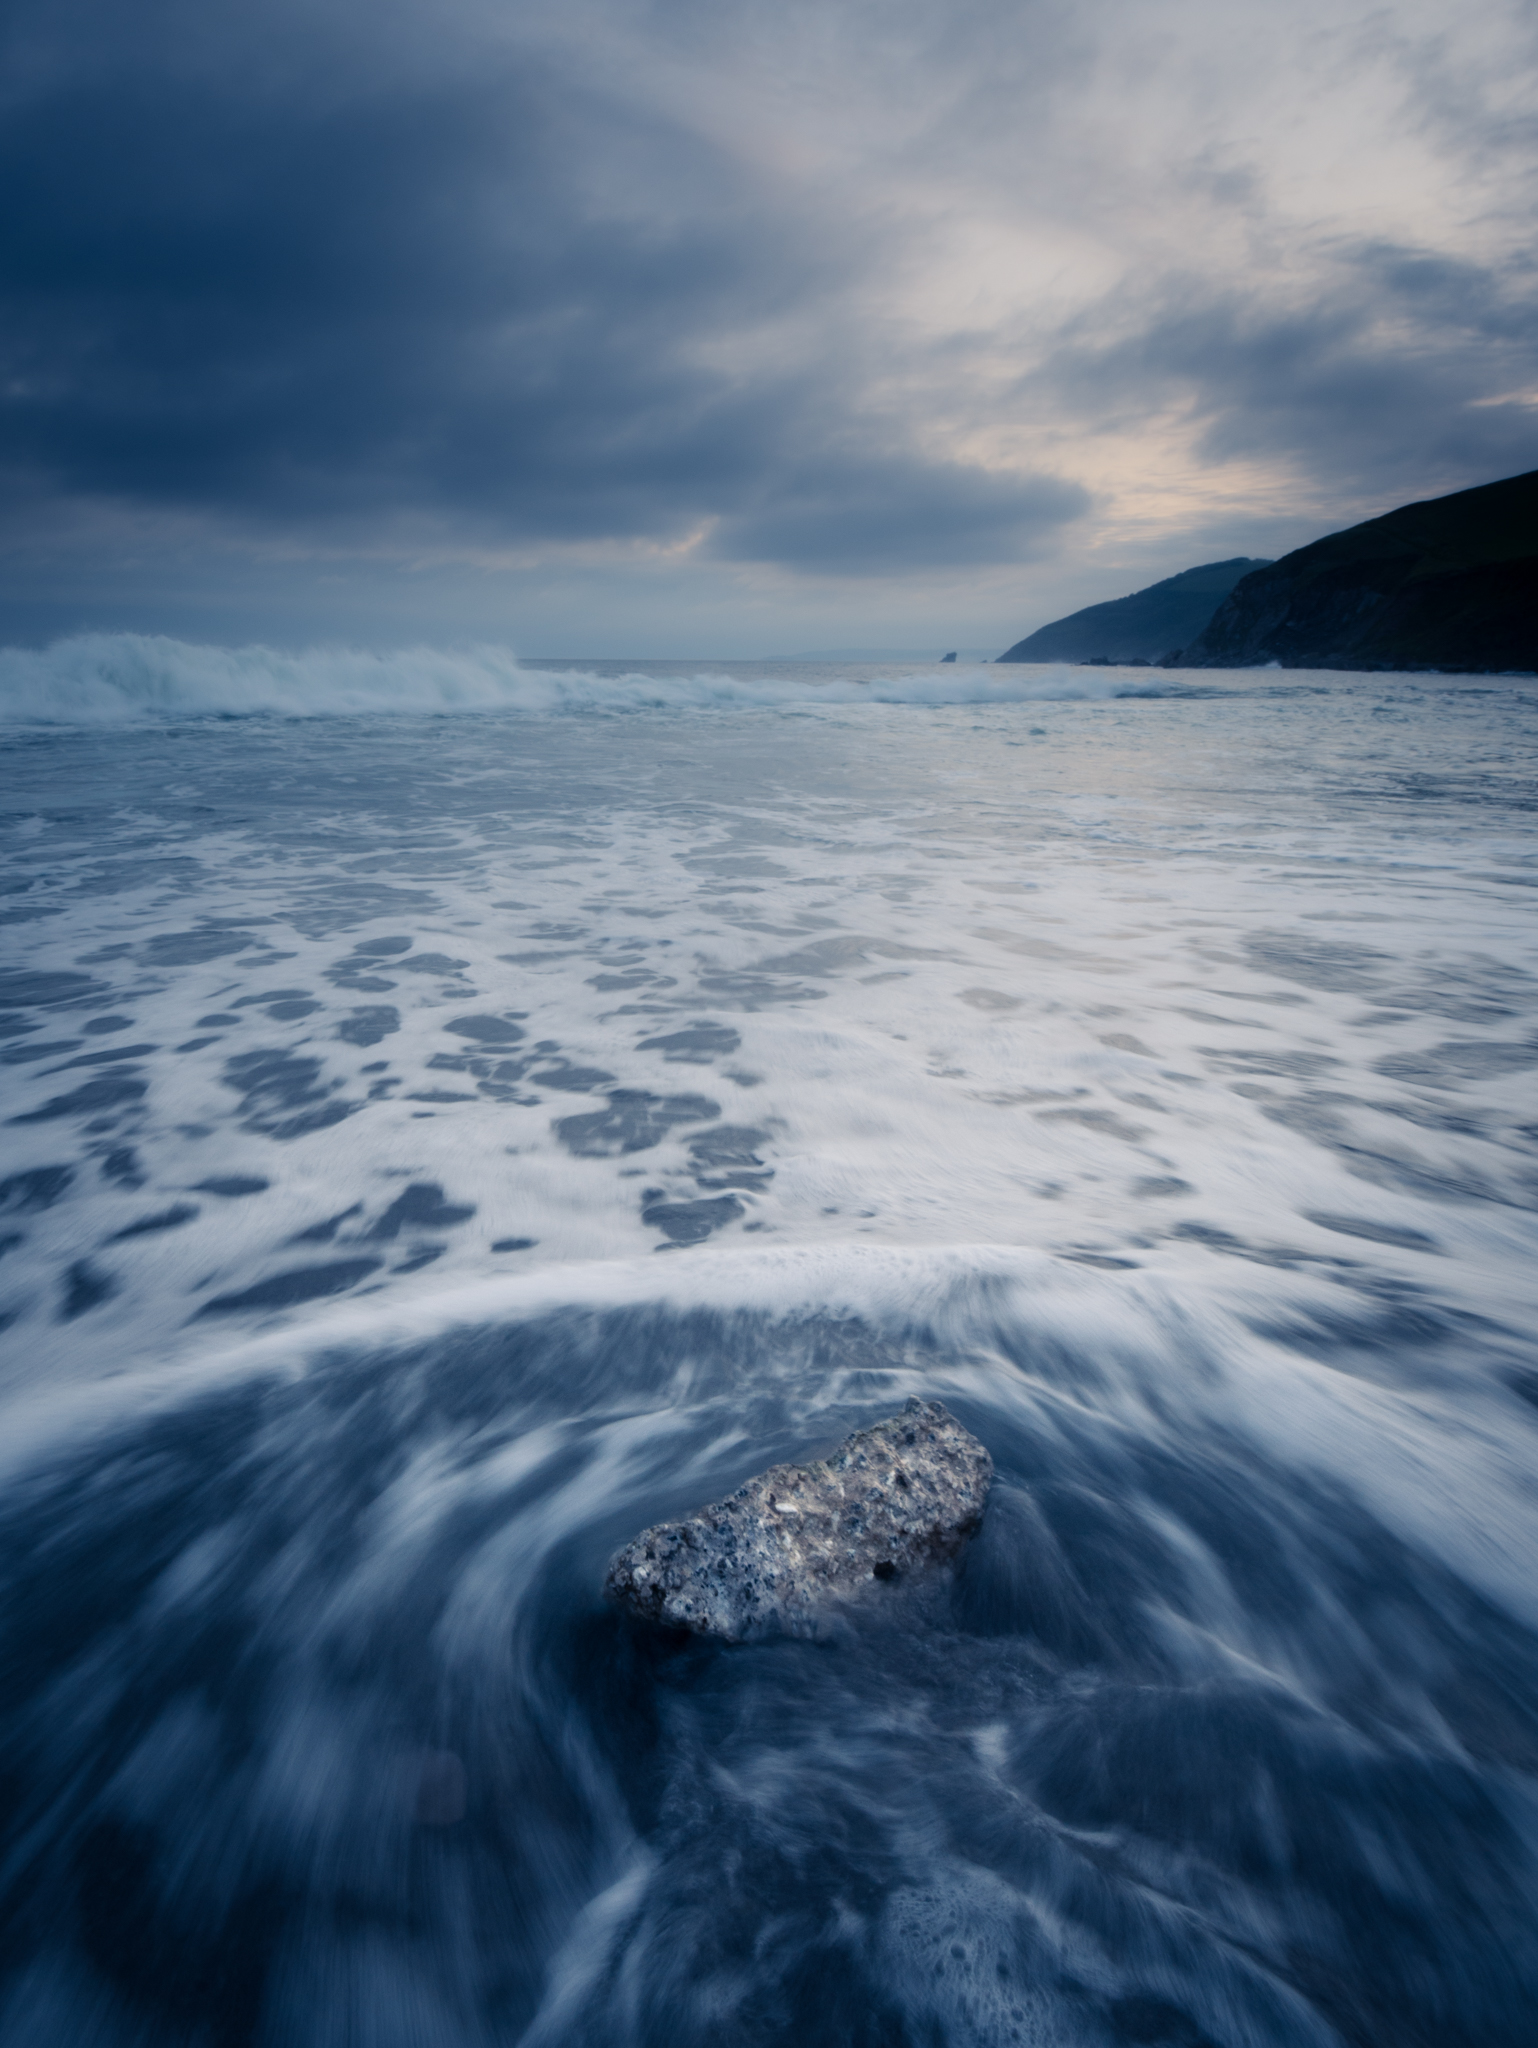
First photo-walk of the year and we headed to Portwrinkle Beach to take in the sunset, unfortunately you can’t book the weather so what started as a quite promising evening soon deteriorated but there were still opportunities to be had, including the waves crashing over the harbour wall at high tide!

Jon Portwrinkle.jpg P4950659.jpg Portwrinkle 2155aa.jpg Portwrinkle Bill portwincelwith-boat-mk4.jpg Portwrinkle P1090888.jpg P4950840.jpg P4950795.jpg

categories: Events, photo-walk
Tuesday 05.10.16
Posted by Liskeard Camera Club
 

One Photograph Series - Camera Format

In the ever ending search for new landscapes to photograph I find myself scouring the coastline for hidden coves and areas which are less trodden. This particular scene was taken at Bude during a low tide. The rocks are to the south of Summerleaze beach close to Compass cove.

When I head out to take photographs for the day I tend to take at least 2 cameras with. Generally it will be my Fuji X-Pro1 with an 18mm lens and a film camera. For the last year or so I have taken my Noon pinhole camera with me.

Using both digital and film formats has allowed me to get two very different interpretations of the same scene, each with their own particular look and feel.  

Camera: Fuji X-Pro1
Lens: Fuji 18mm (35mm equivalent 28mm)
Aperture: f11
Shutter Speed: 1\250th sec
ISO: 400

Camera: Noon Pinhole (6x6, 6x9 & 6x12 format)
Lens: None
Aperture: f207
Shutter Speed: 6 sec
Film: Fuji Acros 100 (Medium Format)

When it comes to which photograph I prefer I do tend to lean towards the pinhole photograph, I prefer the slow shutter effect and the ethereal atmosphere created by the softness. I dare say my tastes will change over time and when it does I will always have the digital version to fall back on.   

If there was one thing I wish I could have done would be to have used a 10 stop filter for the Fuji’s 18mm lens. This would have given me the slow shutter to smooth out the waves whilst maintaining sharp details of the rocks.

There are many choices for a photographer when it comes to attaining a particular look to a photograph. Many effects can be achieved in post production software, however for me this process starts with the camera I choose.  

categories: Behind the shot, Gear
Sunday 05.08.16
Posted by Liskeard Camera Club
 

Marked Up Photographs Show How Iconic Prints Were Edited in the Darkroom

We often hear people cry out about the amount of editing that gets applied to modern images and how photography is now more about the use of Photoshop that the simple truth that was presented in the days of film.

This article from PetaPixel shows how some classic images were developed in the darkroom and shows how dodging and burning are marked up on the test print and then used to emphasize different aspects of the images to produce the final result, techniques which are still in use today using modern post-processing software.


http://petapixel.com/2013/09/12/marked-photographs-show-iconic-prints-edited-darkroom/


categories: Links
Saturday 05.07.16
Posted by Liskeard Camera Club
 

Lisa Woollett Photographer and Author

For those of you who may be interested, Lisa Woollett, photographer and author from Looe who visited the club last year will be showing her photographs and presenting her books of photographs at The Liskerrett Centre Sunday 8th May 7 p.m. The event also includes live music by the Book Shop Band.

Details about the event:

http://www.liskerrett.co.uk/events/event/08-May-2016/talk--book-signing-followed-by-live-music

Lisa's work can be found here:

http://www.photographsofthesea.com/


categories: Events
Wednesday 05.04.16
Posted by Liskeard Camera Club
 

End of the year

Well, I think everyone is fat-n-full after a lovely end of season meal held at The Cheesewring in Minions with plenty of awards and laughter to see us through the evening!

We would like to say a hearty thank you to our outgoing chairman Brian Price and our longstanding secretary Janet Downes, we know you will both be around next season but your enthusiasm and expertise in running the club will give us all a challenge to fill next year!

We would also like to welcome in our new chairman Richard Squires, an avid and enthusiastic photographer with many years experience, and our new club secretary Tim Gilbert... here's to a great season for 2016!


categories: Events
Wednesday 05.04.16
Posted by Liskeard Camera Club
 

One Photograph Series - Interpretation

It was a lovely bright sunny day down at Hannafore near Looe. In the distance clouds starting to appear on the horizon. The sun was quite high in the sky and was producing light which glistened off the water surface. I saw a solitary red sail boat out to sea, I loved the contrast of colours with the light blue sky and sea, almost pastel in nature and the bright red sail. I took a few photographs ensuring the boat was positioned on the lower right hand third, the light clouds gave balance to the top of the frame which helped lift this area with a subtle detail.

Once I got back home I processed all my photographs using Lightroom 5.7. I produced the colour photograph which is pretty much how I envisioned the scene. I wanted a light, almost high key image with soft contrast to emphasize the delicate colour and tones.

I am not a prolific colour photographer and monochrome images are generally more my thing. With this in mind I decided to try a monochrome version. I found that when I lowered the exposure and boosted the shadow and highlights I created a strong contrast in the image which brought out the bright highlights on the water and the white clouds. The shadow adjustment in turn toned down the bank of cloud moving in, which on closer inspection was a veil of rain from a storm cloud. The stronger, darker tones gave the photograph a much more menacing stormy look.

Camera: Olympus OMD EM-10
Lens: Panasonic 45-175mm
Focal Length: 129mm (35mm equiv 258mm)
Aperture: f8
Shutter Speed: 1\500th sec
ISO: 200

By using different post processing techniques to interpret the scene I was able to produce two distinctly different photographs from a single file.

 
categories: Behind the shot
Monday 05.02.16
Posted by Liskeard Camera Club
 
Newer / Older

Powered by Squarespace.